Additional | floral wallpaper
Benefits of Floral Wallpaper
Floral wallpaper has its place in every home or business. It can be used to increase the positive energy in the room, something that every business owner will appreciate. During large gatherings, homeowners will enjoy the comfortable feeling that their guests have in warm, inviting rooms due to the beautiful wallpaper. Homeowners and business owners can also enjoy these additional benefits of this pattern.
Wide Selection Of Floral Patterns
Floral wallpaper provides the perfect pop of personality to an otherwise boring room. Add brightness and energy to a kitchen with wildflowers, or make a rustic kitchen more inviting with a small floral pattern. Monochrome black and white floral patterns increase elegance, making them ideal for homeowners that appreciate a timeless look.
Floral Patterns Provide Instant Wall Decor
Floral pattern wallpaper can add appeal to a room instantly. Walls will no longer appear drab, and you will not need to purchase expensive wall decor to create the look you want. Instead, you will instantly have it when you apply floral panels. Then, you can purchase wall decor or hang pictures when you want to, not because you feel like you have to because the walls are bare.
Flowers Add A Beautiful, Feminine Touch
When you use a floral pattern, regardless of what it is, the area will instantly be more beautiful. The environment will be softer, and it will create peaceful, soothing emotions. There is something special about this wallpaper that helps it calm the soul.
Easy Application
Traditional wallpapers called for a messy process of glue, a brush, and carefully sliding the wallpaper into place. Now, all of that has changed to make application easy and mess-free. To apply wallpaper, simply peel off the backing and stick it into place, just as a person would with a sticker. Then, smooth the wallpaper against the wall to prevent wrinkles.
This wallpaper does not slide on the wall after it is stuck in place. It is advised to place the panels next to each other without an overlap during the application process for a smooth, consistent pattern. This provides a flawless look as it makes seams almost invisible.
Peel And Stick Wallpaper Leaves Walls Underneath Beautiful
One of the primary concerns that first-time buyers have when considering this type of wall covering is that it may damage the walls underneath. While this is a legitimate concern, homeowners will be happy to discover that their wallpaper peels off as easily as it sticks on. Simply peel off a corner of the panel, and continue to peel off the rest of the paper. The removal process will not cause dents or dings to the underlying wall.
Easily Clean Wallpaper Panels
Our peel and stick wallpaper panels do not require special cleaning. Instead, simply use a washcloth with warm water to wipe away messes. We do not recommend using additional cleaners on the wallpaper. Often, additional cleaners are unnecessary.
Please take a moment to read through this guide before hanging, it will help ensure a successful installation of your chosen design. It is important that you understand the entire process before you start. If you are unsure of any of the steps, please get in touch with our customer service team who will be happy to help.
For optimal adhesion of your WALLFLORA peel and stick wallpaper, ensure the surface is smooth, clean, and dry. Remove any dirt, dust, grease, mildew, or ink stains to prevent adhesion issues. If dealing with heavily textured or damaged walls, consider using a heavy-duty wallpaper liner. We advise having two people for installation to ensure smooth application—so team up and enjoy the process!
Pre-Installation Checklist
- Clean the wall thoroughly with a microfiber cloth.
- Remove nails, screws, and fill in cracks.
- Switch off electricity and remove socket/switch covers.
- Sand rough areas smooth.
- Maintain room temperature at 68°F (20°C) during installation.
- Let wallpaper acclimate in room for 24 hours before applying.
- If walls are freshly painted, wait 4 weeks before applying wallpaper. If paint has washable coating, prime with PVA-based primer or regular emulsion paint and let dry before hanging.
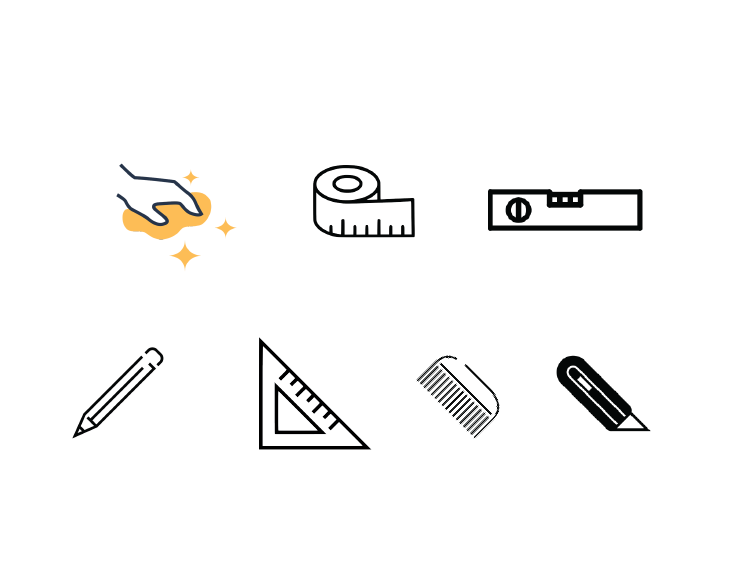
Tools you will need
- Microfiber cloth
- Measuring tape
- Spirit level
- Pencil
- Exacto knife or paper knife
- Triangle ruler
- Plastic squeegee smoother with felt edge
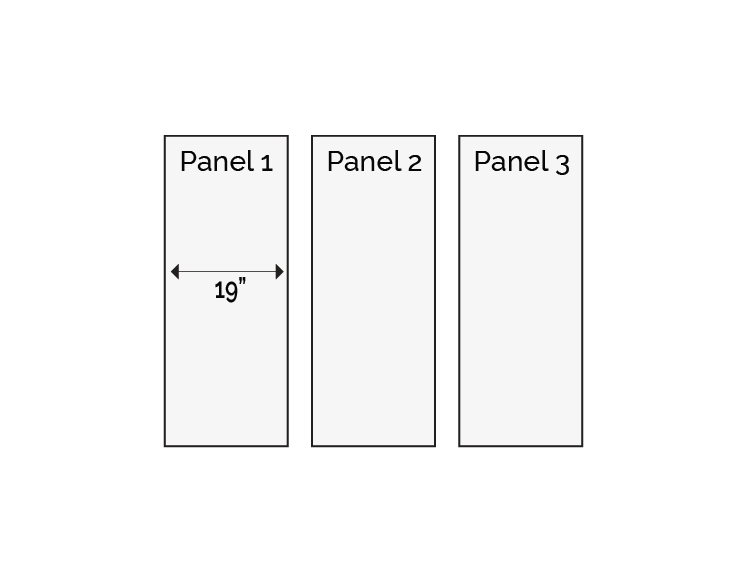
- Unroll the wallpaper or mural and separate the panels. Arrange them in hanging order from left to right on the floor. For murals, use the numbers on the back of each panel, which are always positioned at the bottom to ensure correct orientation. Repeating patterns can be installed in any order.
- Once your wallpaper or mural is laid out, align the design to ensure the image or pattern matches before proceeding with installation.

Line up the first panel
Start from the left side of your wall. Use a tape measure and spirit level to mark where Panel 1 should be positioned. With a pencil create a vertical plumb line from floor to ceiling, then mark a horizontal line 19” from the wall with 1”-2” overhang on the left side of Panel 1. This ensures the first panel is hung straight, vital for successful installation.
Take time to ensure accuracy, as walls are never perfectly straight!
Install the first panel
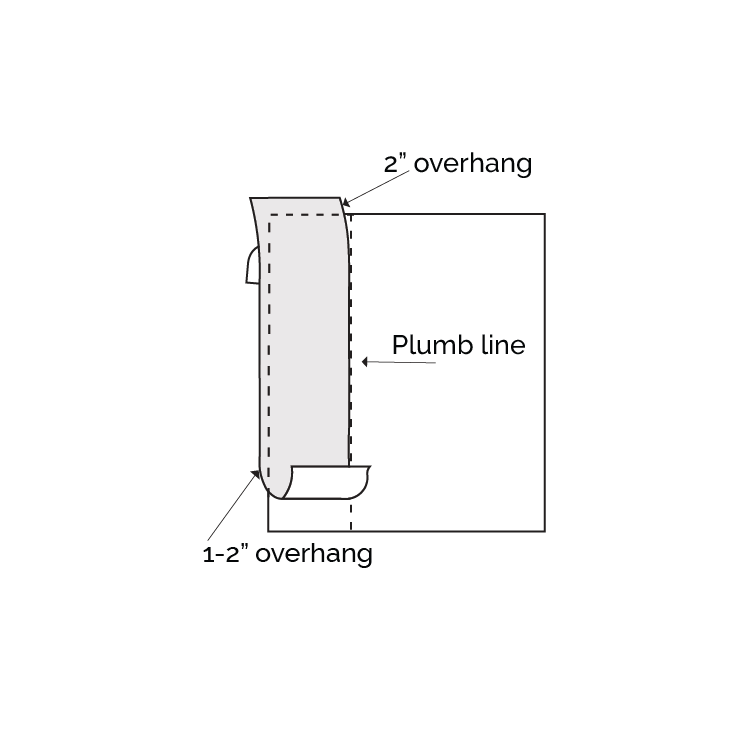
- With your partner's assistance, peel about a third of the backing paper from the first panel. Align the top right edge with the marked plumb line, leaving a 2” overhang at the top to prevent gapping on uneven walls and ceilings.
- Once the first panel is straight, continue removing the lining paper slowly while working with the felt-tipped squeegee to apply pressure gradually from the middle, moving downward and outward. Avoid creasing the wallpaper by smoothing gently and evenly. Smoothing diagonally helps remove trapped air.
- If repositioning is necessary, gently remove and restick the panel until straight.
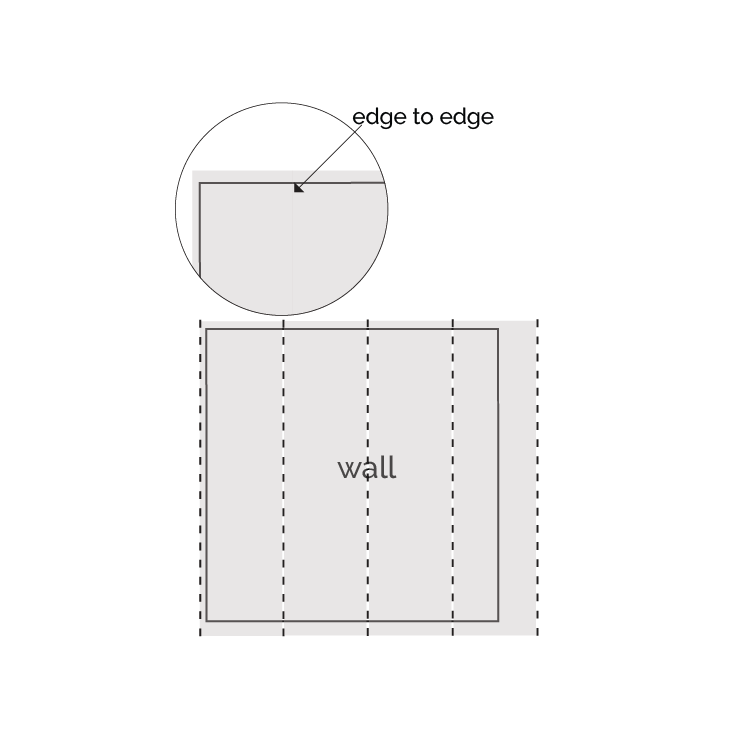
Butt up the panels
When hanging multiple panels, align the edges tightly together without overlapping!
- Peel about a third of the backing paper and, with assistance, visually match the design down the length of the wall. Once aligned, firmly press the panels together to conceal the seams without overlapping. Smooth out any air bubbles using the felt-tipped squeegee or a soft cloth.
- Proceed to remove the remaining backing paper and carefully smooth the wallpaper until fully installed.
Repeat until finished
- Repeat the previous steps for all panels until wallpaper is fully installed.
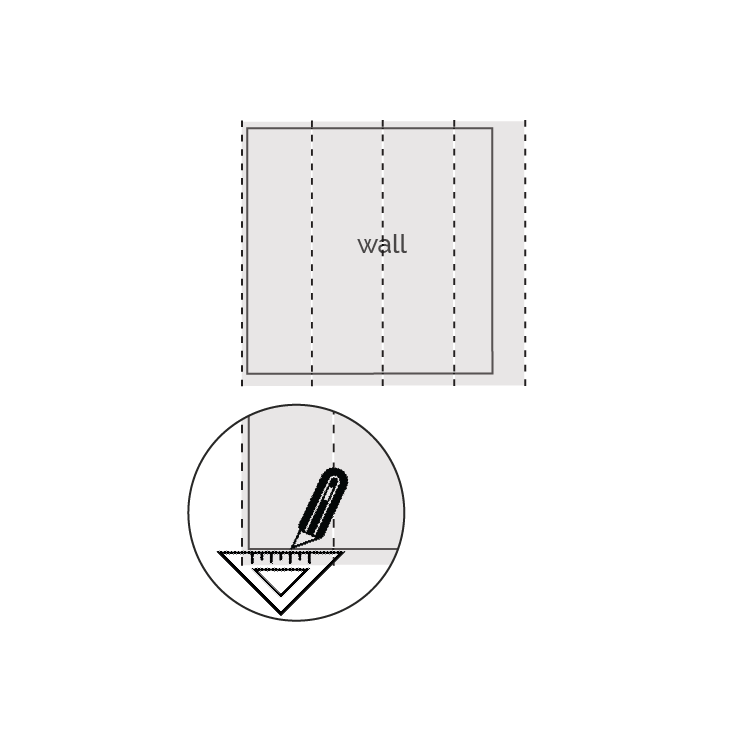
- Use a triangle ruler and sharp blade to trim excess from final drop and top/bottom of all drops.
- Firmly smooth wallpaper with felt-tipped squeegee to remove air pockets and ensure bonding to wall. Repeat this step one week after installation for optimal results.
Allow for drying at room temperature with adequate ventilation.