Traditional wallpaper instructions
Please take a moment to read through this guide before hanging, it will help ensure a successful installation of your chosen design. It is important that you understand the entire process before you start. If you are unsure of any of the steps, please get in touch with our customer service team who will be happy to help.
To ensure proper adhesion of your WALLFLORA traditional wallpaper, ensure the surface is clean, dry, and free from contaminants like dirt, dust, grease, mildew, or ink stains. For semi-textured, heavily textured, or damaged walls, consider using a heavy-duty wallpaper liner. We recommend having two people for traditional installation to make the process easier and more enjoyable
Pre-Installation Checklist
Prepare your surface by:
- Wiping it down with a microfiber cloth to remove dust and dirt.
- Removing nails, screws, and filling cracks.
- Switching off the electricity mains and removing socket/switch covers.
- Sanding down rough areas until smooth.
- Cleaning walls with warm water and mild soap, then allowing them to dry for at least 24 hours.
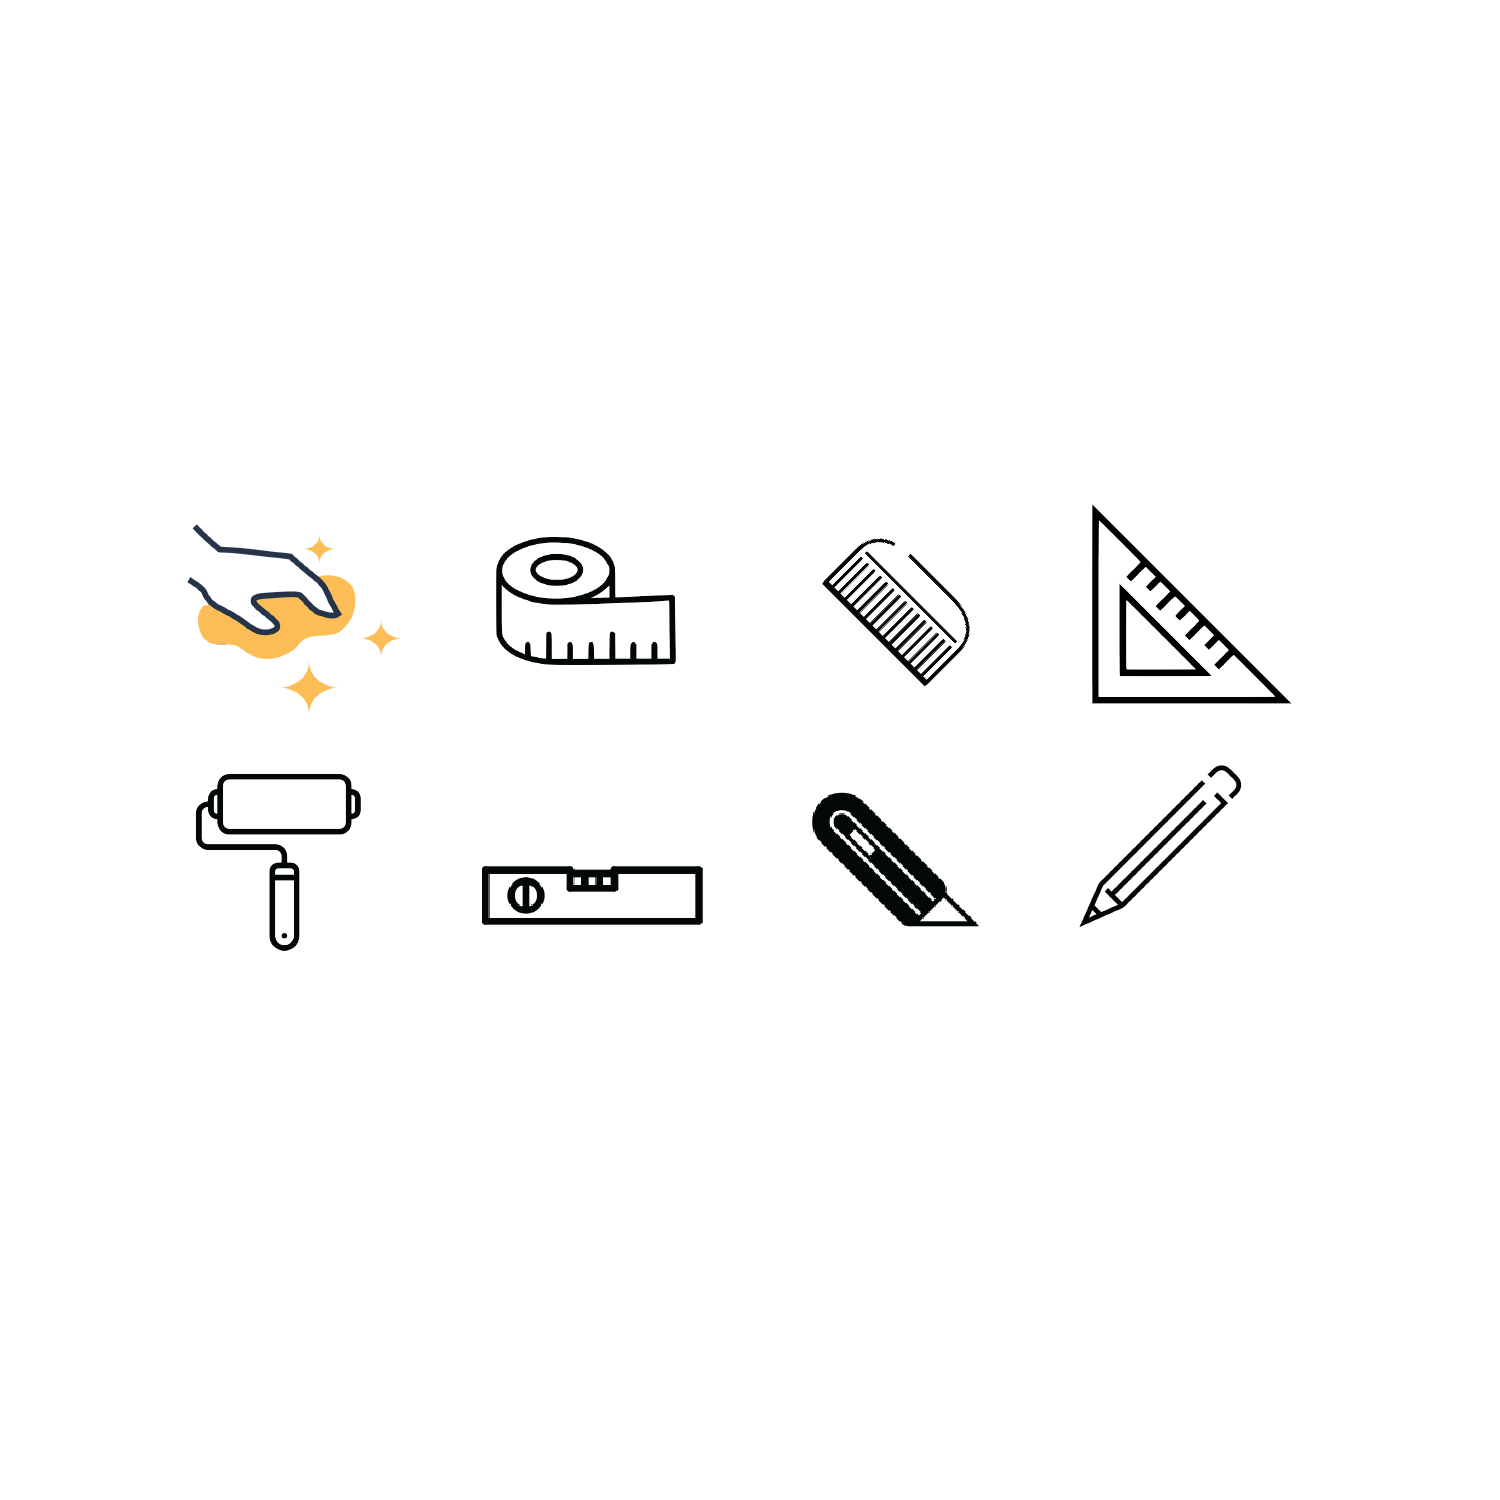
Tools you will need
- Paste the wall' adhesive*
- Pasting brush or roller
- Clean, damp microfiber cloth
- Measuring tape
- Spirit level
- Pencil
- Exacto knife or paper knife
- Triangle ruler
- Smoothing brush or felt-tipped squeegee
- Unroll the wallpaper or mural and separate the panels. Arrange them in hanging order from left to right on the floor. For murals, use the numbers on the back of each panel, which are always positioned at the bottom to ensure correct orientation. Repeating patterns can be installed in any order.
- Once your wallpaper or mural is laid out, align the design to ensure the image or pattern matches before proceeding with installation.

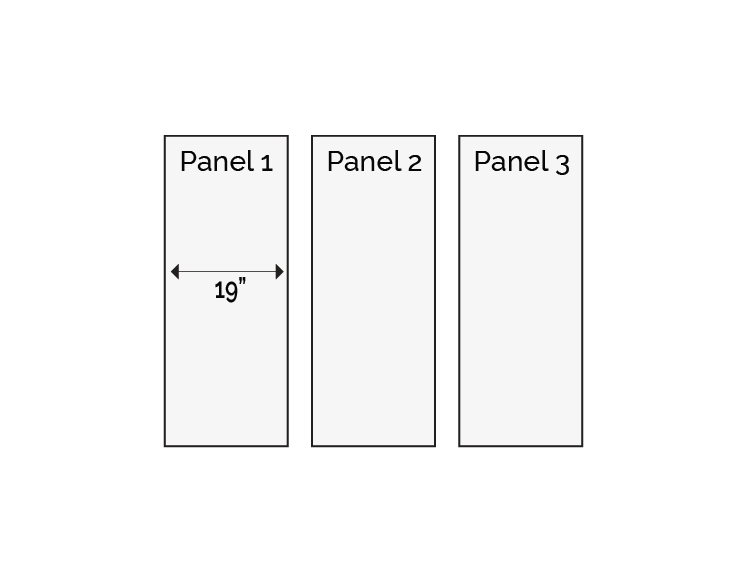
Line up the first panel
- Start from the left side of your wall. Use a tape measure and spirit level to mark where Panel 1 should be positioned. With a pencil create a vertical plumb line from floor to ceiling, then mark a horizontal line 19” from the wall with 1”-2” overhang on the left side of Panel 1. This ensures the first panel is hung straight, vital for successful installation.
Your wall may not be perfectly straight and using it as a reference will result in incorrect installation, take time to get this part right!
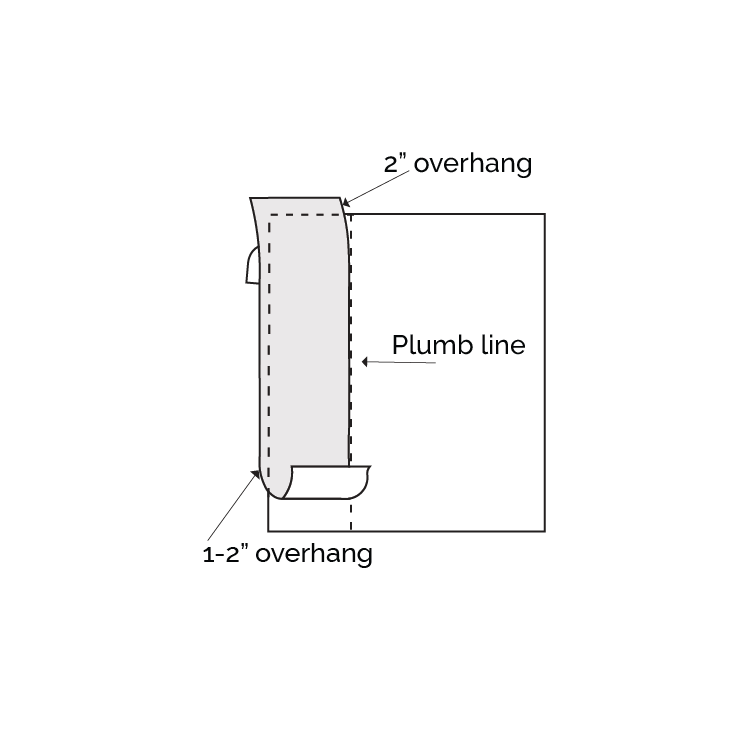
Install the first panel
- Using a brush or roller, apply wallpaper paste evenly to the wall surface, covering a few inches past the first marked section. A smooth, even coat is essential to reduce the possibility of bubbling.
- Align your first panel with the penciled guideline and begin hanging from the top, working downwards. Carefully smooth away any bubbles or ripples using the felt-tipped squeegee or a microfiber cloth.
Avoid pulling or stretching the material during installation. Work from the top and allow the wallpaper to fall naturally.
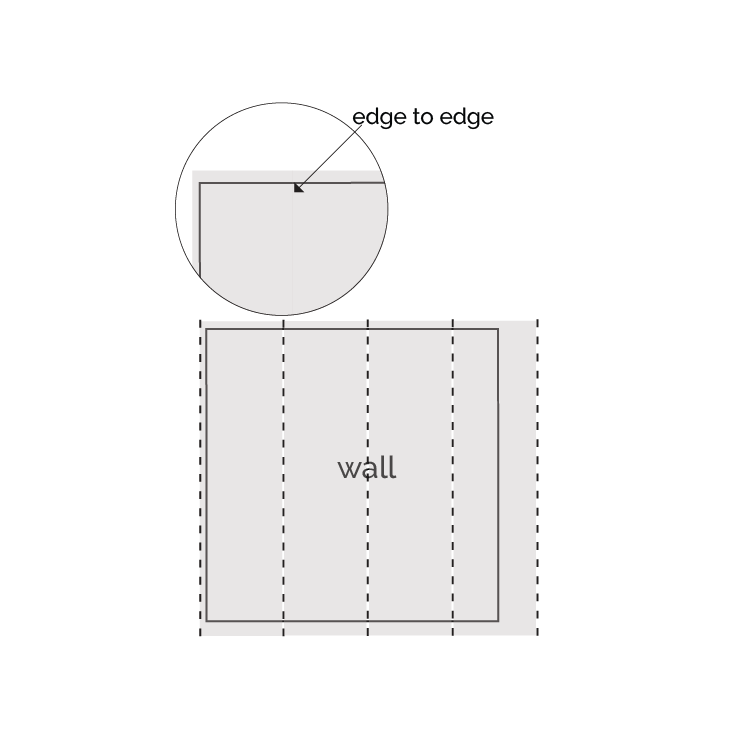
Butt up the panels
When hanging multiple panels, align the panels edge to edge without overlapping!
- Apply wallpaper paste directly to the wall surface and slide the second panel into position. Once aligned, firmly press the panels together to conceal the seams without overlapping them. Smooth out any air bubbles using the smoothing brush or the felt-tipped squeegee.
- Try to avoid getting paste on the surface of the wallpaper. If any excess paste gets on the print, gently wipe it away with a clean, damp microfiber cloth as soon as possible.
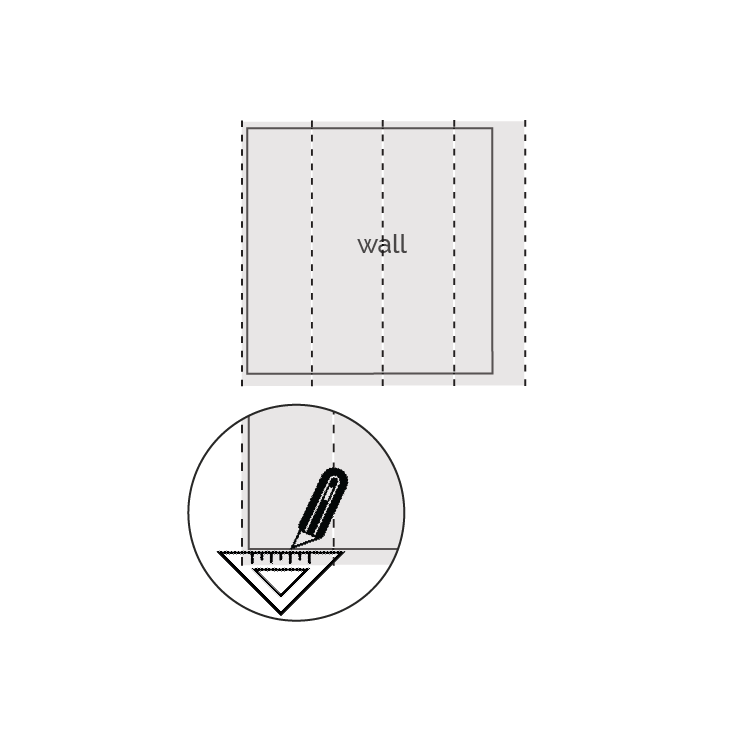
Repeat until finished
- Repeat the previous steps for all panels until your wallpaper is completely installed. Continue to smooth and wipe away excess as you proceed.
- Use a triangle ruler as a guide and a razor-sharp blade to trim away any excess from both your final drop and the top and bottom of all drops.
Allow the wallpaper to dry at room temperature, ensuring there is plenty of ventilation.